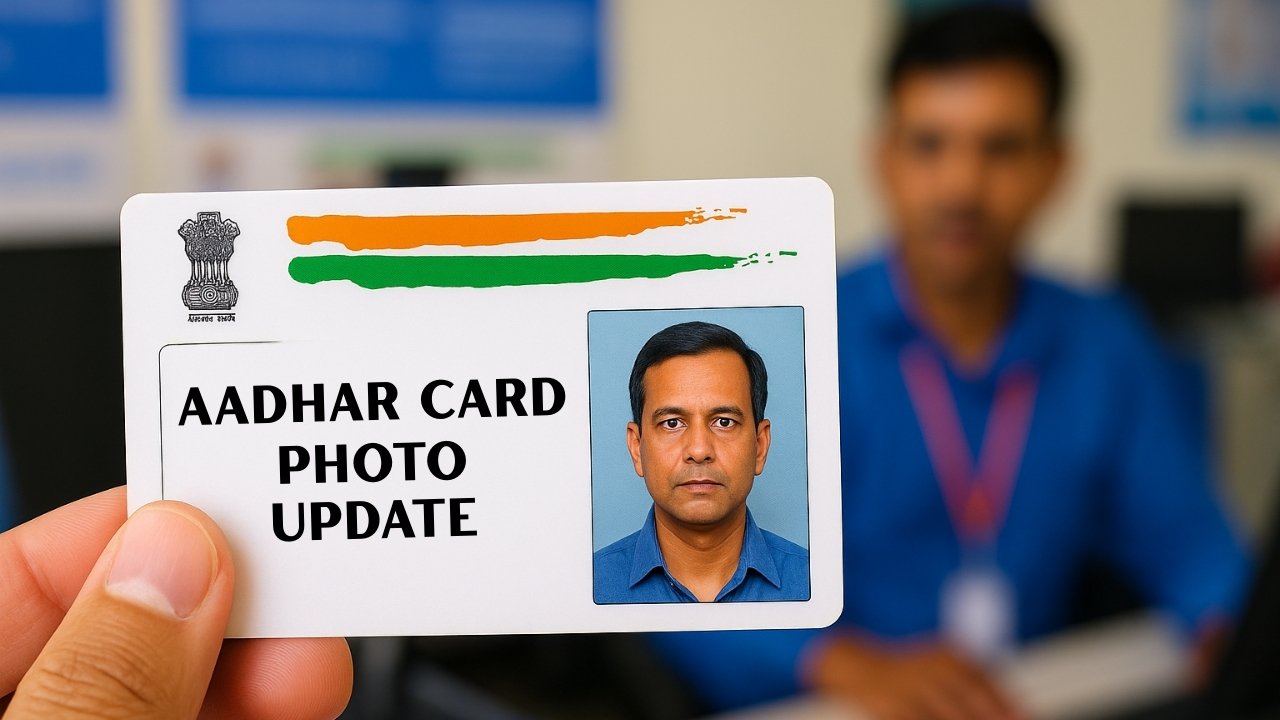
The Aadhaar card, issued by the Unique Identification Authority of India, is one of the most essential identity documents for residents of India. It contains key biometric and demographic information, including name, date of birth, address, and a photograph. Over time, individuals may wish to update their Aadhaar photo for various reasons, whether due to ageing, poor image quality, or changes in appearance.
Many people are unaware that updating the Aadhaar card photo is indeed possible and involves a straightforward process guided by UIDAI regulations. In recent updates, UIDAI has emphasised making the Aadhaar update services easier, more transparent, and user-friendly for everyone.
Why Aadhaar Photo Update is Important
Though not compulsory for all, updating the Aadhaar photo becomes essential in certain cases. Some users find that their original Aadhaar card image is either blurry, outdated, or was taken in poor lighting conditions at the time of enrollment. An unclear or mismatched photograph may cause inconvenience when using the Aadhaar as a valid photo identity proof for banking, travel, exams, or verification purposes.
Moreover, a fresh and updated photograph helps in reducing identity fraud and ensures better authentication during biometric scans and facial verification. UIDAI has made provisions to accommodate such requests with minimal hassle.
What UIDAI Says About Photo Update
As per UIDAI’s recent guidance, Aadhaar photo updates fall under the category of biometric updates, which include changes in fingerprints, iris scans, and facial photographs. Unlike name or address updates that can be done online via the UIDAI portal, changing the photograph requires a physical visit to an Aadhaar Seva Kendra (ASK) or an authorised enrollment centre.
The photograph linked to the Aadhaar number is captured live at the centre during the update process and cannot be uploaded or submitted externally.
Process to Change Photo in Aadhaar Card
The steps to update the Aadhaar card photo are very simple but require the user’s physical presence. Below is the complete process:
- Step 1: Visit Aadhaar Seva Kendra or Enrollment Centre: To initiate the photo update, visit the nearest authorised Aadhaar Seva Kendra or UIDAI-approved enrollment/update centre. You can locate the centre by visiting the official UIDAI website and using the “Locate Enrolment Centre” tool.
- Step 2: Fill Aadhaar Update Form: Once at the centre, ask for the Aadhaar Enrollment/Correction/Update Form. Fill in the required details, including your Aadhaar number and the fields you wish to update, in this case, your photograph.
- Step 3: Provide Biometric Verification: The official will ask for biometric authentication (fingerprint or iris scan) to verify your identity before proceeding.
- Step 4: Photo Capture by Operator: A live photograph will be taken on the spot using a webcam or professional camera setup available at the centre. The earlier photograph will be replaced with this newly captured image.
- Step 5: Pay the Prescribed Fee: UIDAI has set a nominal fee of ₹100/- (inclusive of GST) for any biometric update, including photograph changes. Make sure to collect the payment receipt.
- Step 6: Receive Acknowledgement Slip: After completion, you will receive an Update Request Number (URN) on the acknowledgement slip. This number can be used to track the update status on the UIDAI website.
Important Notes
- No additional documents are required solely for the photo update if you are not changing any demographic information.
- The new Aadhaar card with the updated photo will not be automatically delivered. You need to download the updated e-Aadhaar from the UIDAI portal using your Aadhaar number or URN.
- The processing time for the photo update may take up to 15–30 days, depending on the volume of requests.
How to Download the Updated Aadhaar with a New Photo?
Once the update is processed, follow the steps below to download your Aadhaar card with the newly updated photo:
- Visit the official UIDAI website at uidai.gov.in.
- Navigate to “My Aadhaar” > “Download Aadhaar”.
- Enter your Aadhaar Number or Virtual ID (VID), followed by OTP verification.
- Download the PDF version of e-Aadhaar.
- The PDF will contain your updated photograph.
Make sure you open the file using the correct password format, which is a combination of the first four letters of your name in CAPITAL letters, followed by the year of birth.
Can the Photo Be Updated Multiple Times?
Yes, UIDAI permits residents to update their biometric details, including the photo, multiple times if there is a genuine reason. However, one must remember that frequent changes may lead to additional scrutiny, and misuse of the facility could be flagged for security purposes.
By following the UIDAI-approved method, you can ensure that your updated Aadhaar with a clear photograph serves as a reliable and valid identity document for all essential services and verifications.
